3D Automatische optische Inspektion
Objective analysis of the assembly quality of a PCBA
In order to minimize the possibility that the boards present assembly and welding defects, before they are sent to the electrical test and to any functional testing, EES after the assembly process smt and tht submits all the cards to optical inspection .
EES has two AOI lines: BF-3Di from Saki and the Orbotech Vantage S22.
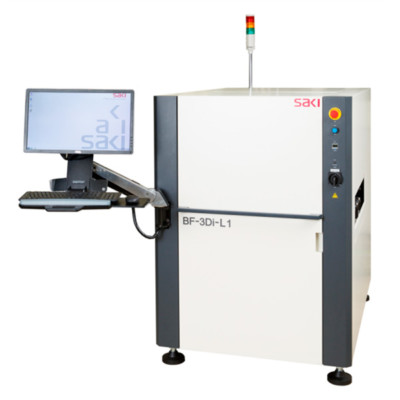
Saki’s BF-3Di system allows an objective analysis of the assembly quality of a PCBA.
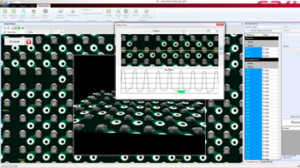
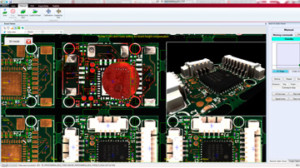
In fact, the implementation of 3D technology has revolutionized the way to analyze the assembled cards reducing false errors and the subjectivity of the operator in the analysis because it is no longer a comparison of images, but a real measurement in three size.
We are talking about implementation because the algorithms that have made the SAKI brand a leader in the AOI 2D control sector are still exploited today for various analyzes, such as the verification of the written on the components (OCR and OCV) and the polishing polarity.
One of the advantages of 3D measurement is clearly found in an evaluation of a welding meniscus: with 2D technology it was difficult to interpret, today, thanks to this measuring instrument, I have the possibility to calculate the volume, therefore, once the Target parameters of the IPC-A-610, I am sure of the quality of the joint.
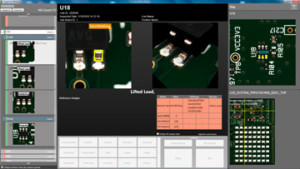
Moreover, the third dimension allows me to have objective evidence of critical issues that develop vertically (like raised pins and tombstoning) and the identification of the presence / absence of components becomes a feature independent of the pcb, as well as their appearance or their color (eg white led on white pcb).
Also taking advantage of the moiré effect I no longer have areas of shade and I can say I have a total control even with regard to those components that do not have the welding joint on the surface (BGA, LGA, QFN …) because, thanks to the precision of 18μ, analysis of the planarity of the component is made with extremely reduced tolerances in order to identify those components with possible criticality by analyzing with the X-RAY Nikon any anomalies present under the component body.
Another system adopted for automatic inspection is the dpiX ™ 3D (Dimensional Picture Picture Extraction) using the AOI Vantage ™ S22 machine.

This inspection system ensures maximum reliability of the assembled boards. The special techniques of image acquisition and the management of the same provide for the complete coverage of the defects, from the analysis of all the visible components to the problems related to the welding joints.
The principle of operation of our optical inspection system is based on the acquisition of the images detected by the five cameras of which the Vantage S22 is equipped, this acquisition is also made possible by a multi-angle lighting system able to reach all the points of the card under inspection. Subsequently the images are compared with the library present in the machine memory and possibly with the previous acquired images. If the comparison shows possible defects, a defect report is issued for a precise check of faults or false faults by a specialized operator.
Technical specifications:
- Packages components: CHIP up to 0401, fine pitch up to 0.4mm
- Maximum circuit size: 500×380 mm
- Minimum space for scrolling the card: TOP 2mm; BOTTOM 3mm
- Maximum height: 760mm
The Machines
Saki BF-3Di

Saki’s BF-3Di system allows an objective analysis of the assembly quality of a PCBA.
In fact, the implementation of 3D technology has revolutionized the way to analyze the assembled cards reducing false errors and the subjectivity of the operator in the analysis because it is no longer a comparison of images, but a real measurement in three size.
Orpro Vision AOI Vantage™ S22
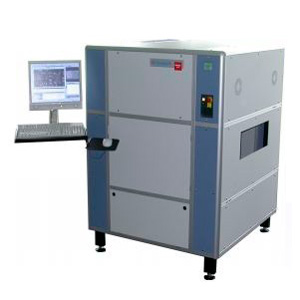
Another system adopted for automatic inspection is the dpiX ™ 3D (Dimensional Picture Picture Extraction) using the AOI Vantage ™ S22 machine.
This inspection system ensures maximum reliability of the assembled boards. The special techniques of image acquisition and the management of the same provide for the complete coverage of the defects, from the analysis of all the visible components to the problems related to the welding joints.


