Röntgenanalyse
Verification of electronic connections that are invisible from the outside
The X-ray inspection is not a luxury, but it is a necessary process step with which to verify those electronic connections that are invisible from the outside (BGA, LGA, QFN, CSP etcc ..).
EES uses a micro-focus X-ray system to verify the quality of the welds, to evaluate the size of any voids, to search for faults and to identify the critical points on which to intervene for the repair of printed circuits, connectors and wiring in general.
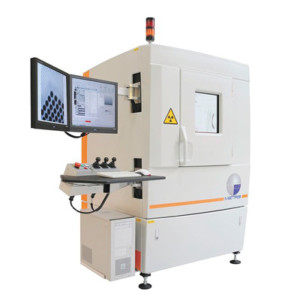
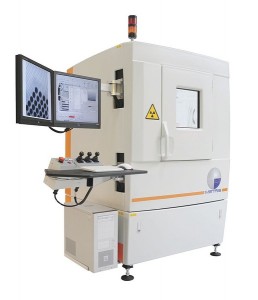
With Nikon Metrology XT V 160 we have the ability to quickly track any internal errors that otherwise would remain hidden in the product with a direct effect on its quality; moreover thanks to this analysis we have the possibility to refine the constructive process and to increase the productivity and the speed of response towards the ns. customer.
The Nikon XV 160 system is equipped with a 5-axis system that allows a 360-degree analysis of the object under examination, and thanks to the 160 kV micro focus x-ray tube we are able to analyze high-density materials, such as some houses of complex electronic components.
The Machine
X-RAY NanoTech 160KV by Nikon Metrology

X-RAY NanoTech 160KV by Nikon MetrologCon Nikon Metrology XT V 160 allows you to quickly track any internal errors that would otherwise remain hidden in the product with a direct effect on its quality; moreover thanks to this analysis we have the possibility to refine the constructive process and to increase the productivity and the speed of response towards the ns. customer.
The Nikon XV 160 system is equipped with a 5-axis system that allows a 360-degree analysis of the object under examination, and thanks to the 160 kV micro focus x-ray tube we are able to analyze high-density materials, such as some houses of complex electronic components


